GeoAI User invites User Manual
This manual provides step-by-step instructions for inviting users to the GeoAI platform and sharing projects, allowing for collaborative work.
Getting Started
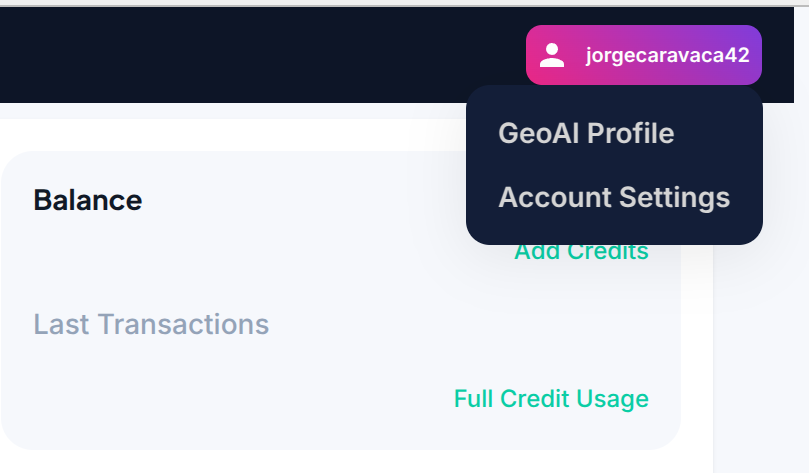
To begin the user invite process, an existing account is required. Navigate to the the profile page and locate the Invites menu.

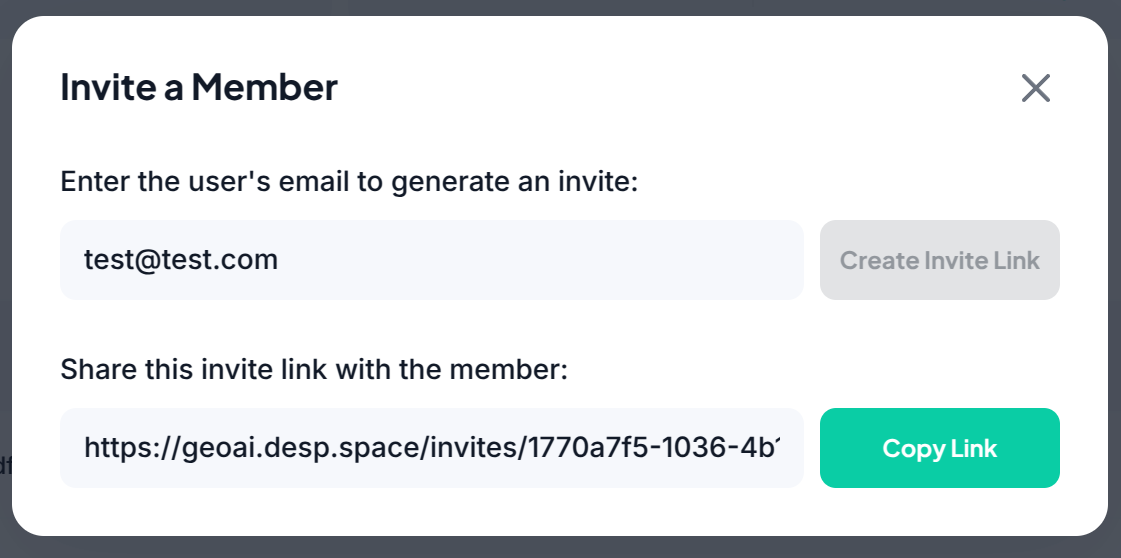
Create invite: Click the green button labeled Invite a Member to input the email of the user to be invited. Then, click the Create Invite Link button to reveal the invite link
Share the link with your colleague
Accepting an invite
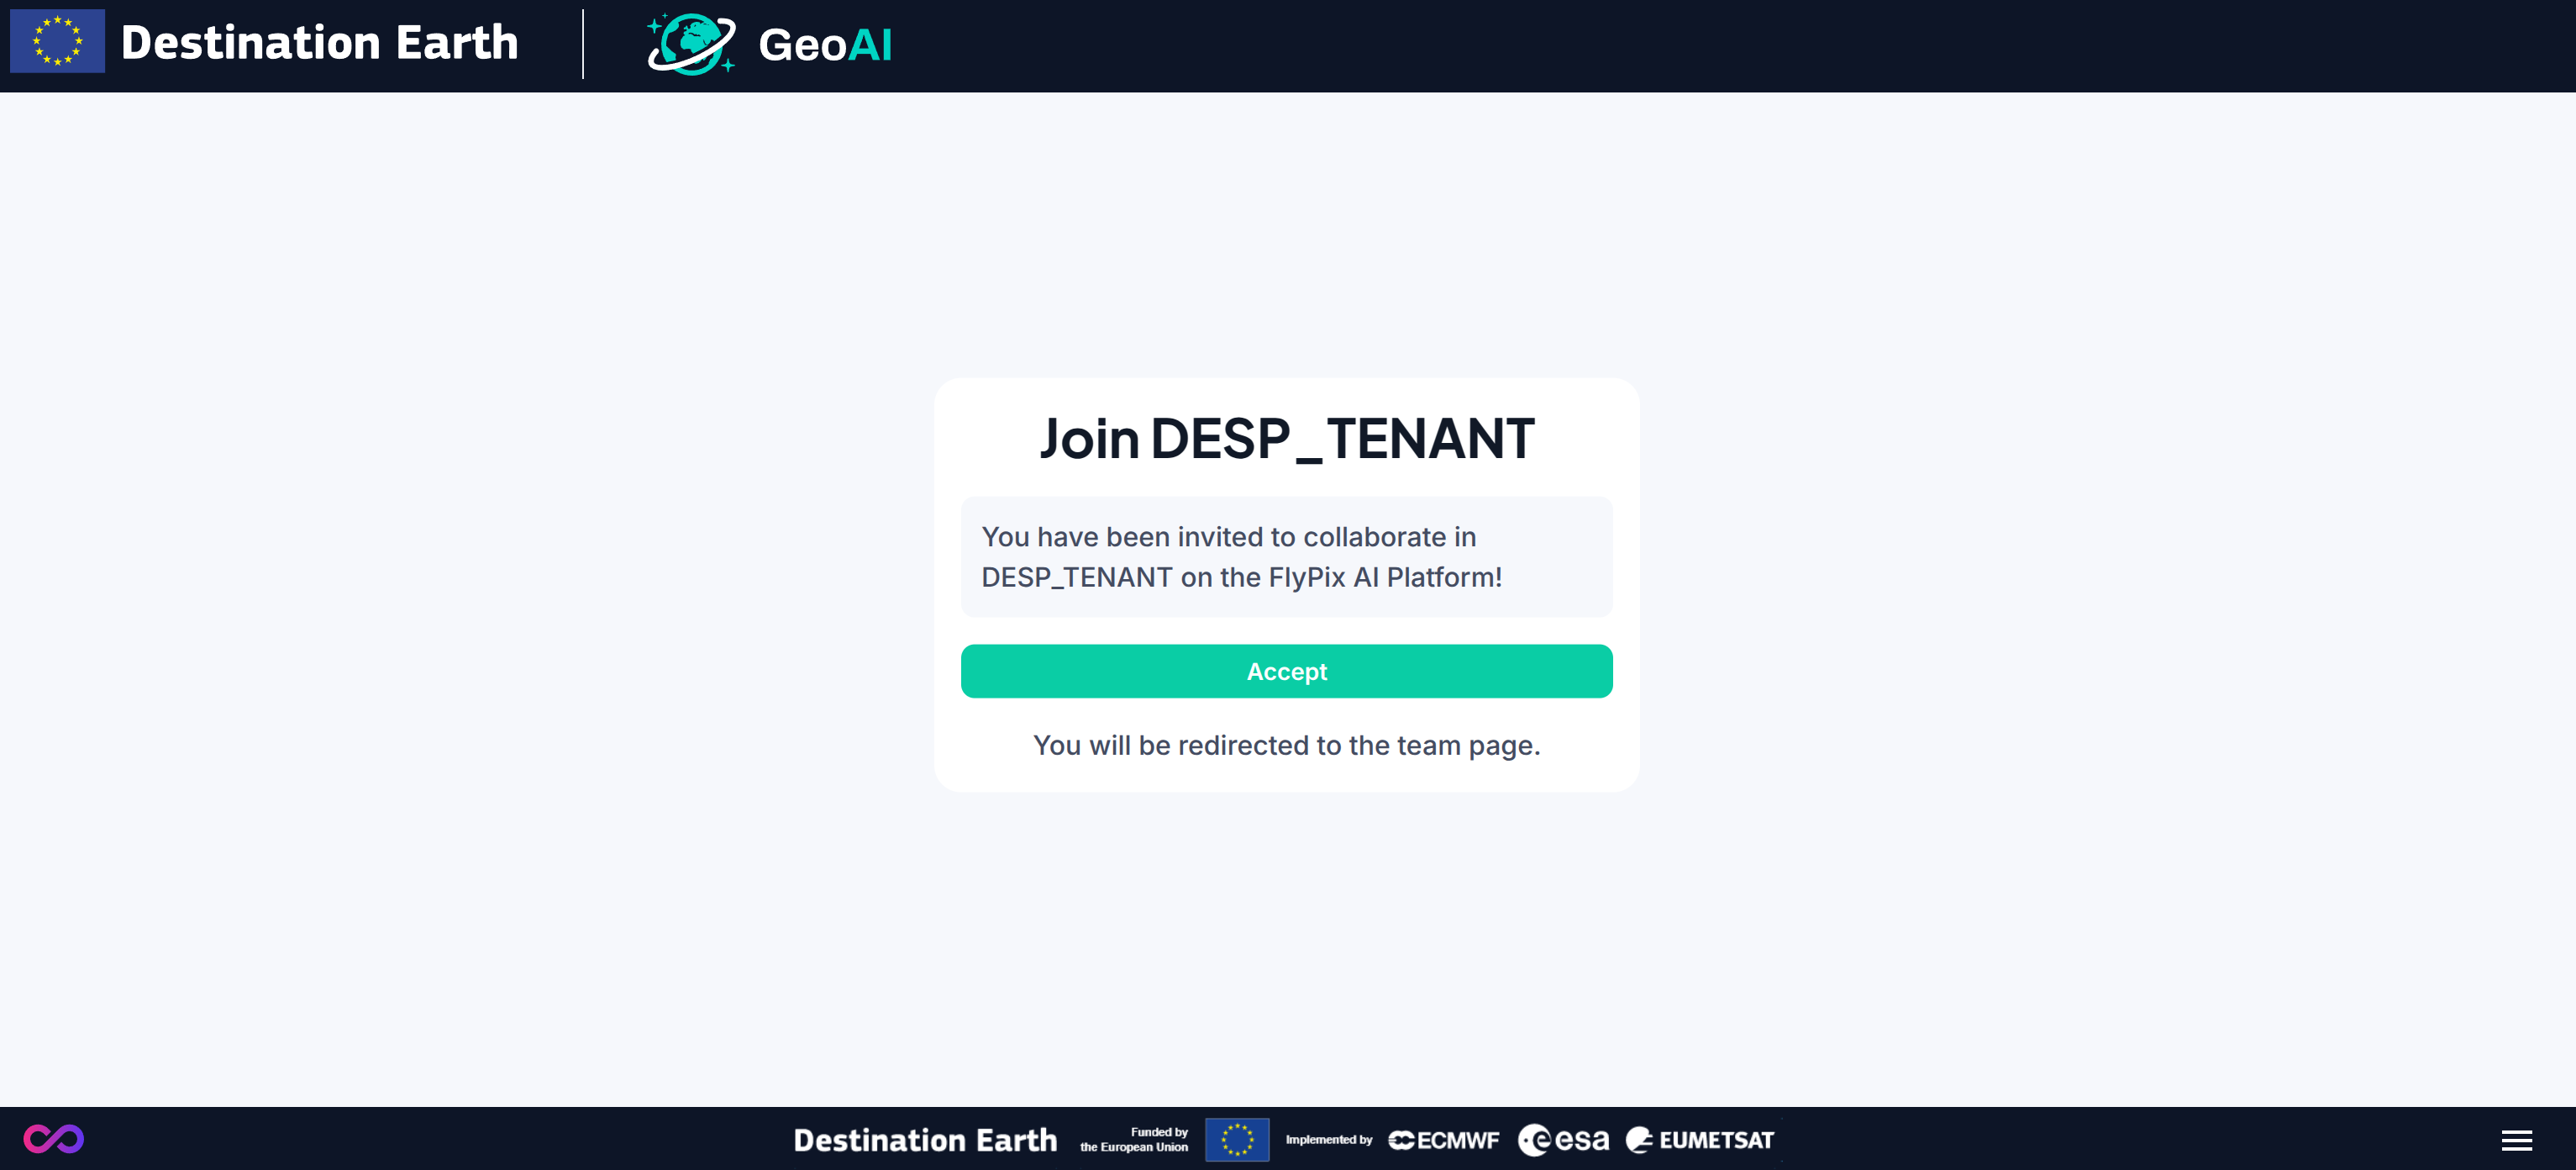
In order to accept an invite to another user’s tenant, an existing account is required. If a user is not logged in when trying to accept an invite link, the user will be prompted to login to their account. When the user clicks the link, a welcome page will be shown with the option to accept the invite.
Switching tenants
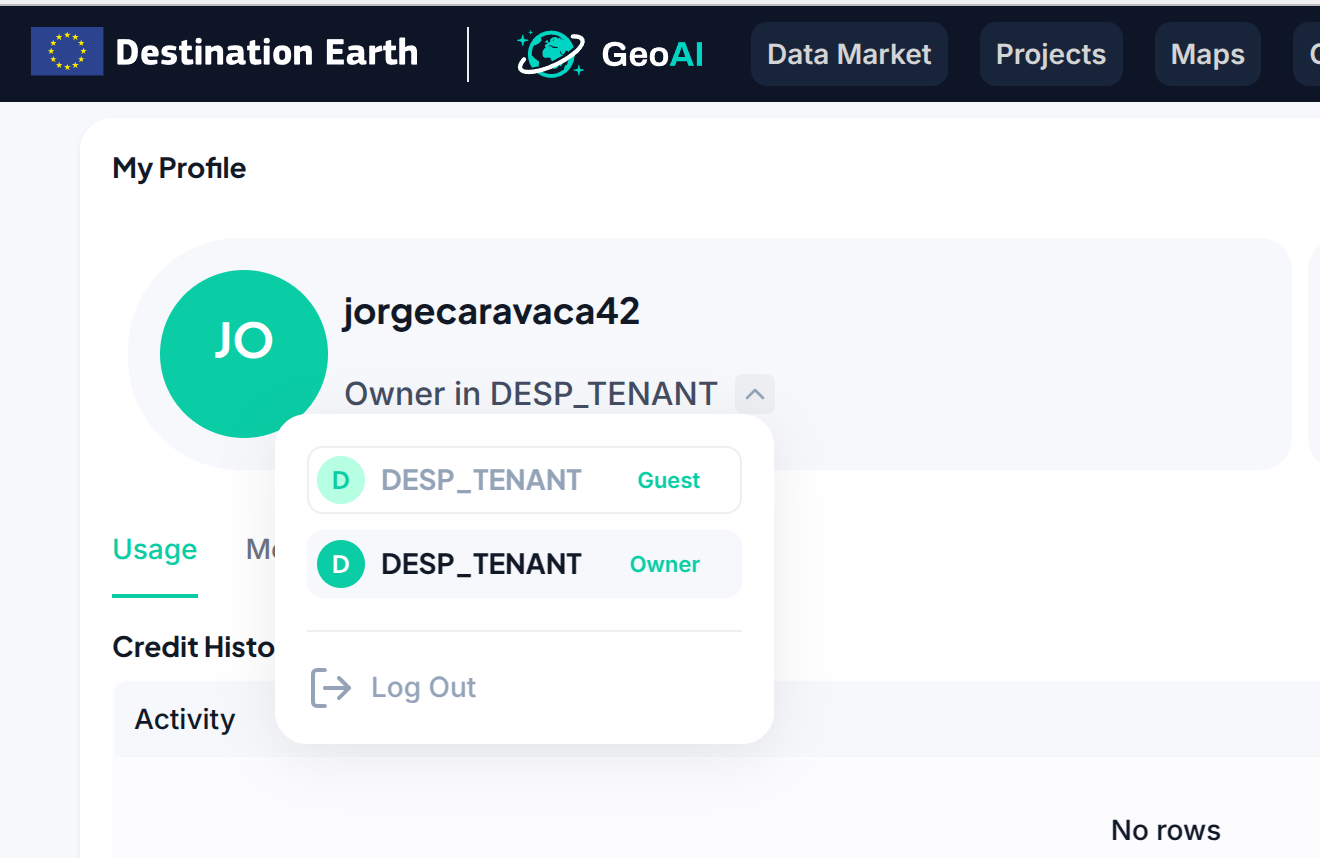
Once a user has accepted an invite, they can switch back to their own tenant as any time by using the dropdown in the profile page
Additional notes
When a different tenant is selected, all the resources are tied to said tenant. This includes uploaded files, projects and annotations. Additionally, credits and storage use are also tied to the tenant.