5. DCMS Cache-B Data Access
Data sources accessible by Vizlab provide data that are ready to be viewed, with the exception of “DCMS CACHE-B”. Datasets from “DCMS CACHE-B” are very large and require a preliminary extraction process before being usable. This process typically involves selecting a smaller portion in time and space of the data, and the extracted pieces of data are called “data cubes”.
5.1. Data cubes creation
As previously anticipated in “Data Offer” (see “Home” chapter), datasets from DCMS CACHE-B data cannot be added as layers immediately. Instead, trying to add a layer redirects to a panel where it’s possible to choose among the available data cubes or create new ones with custom parameters.
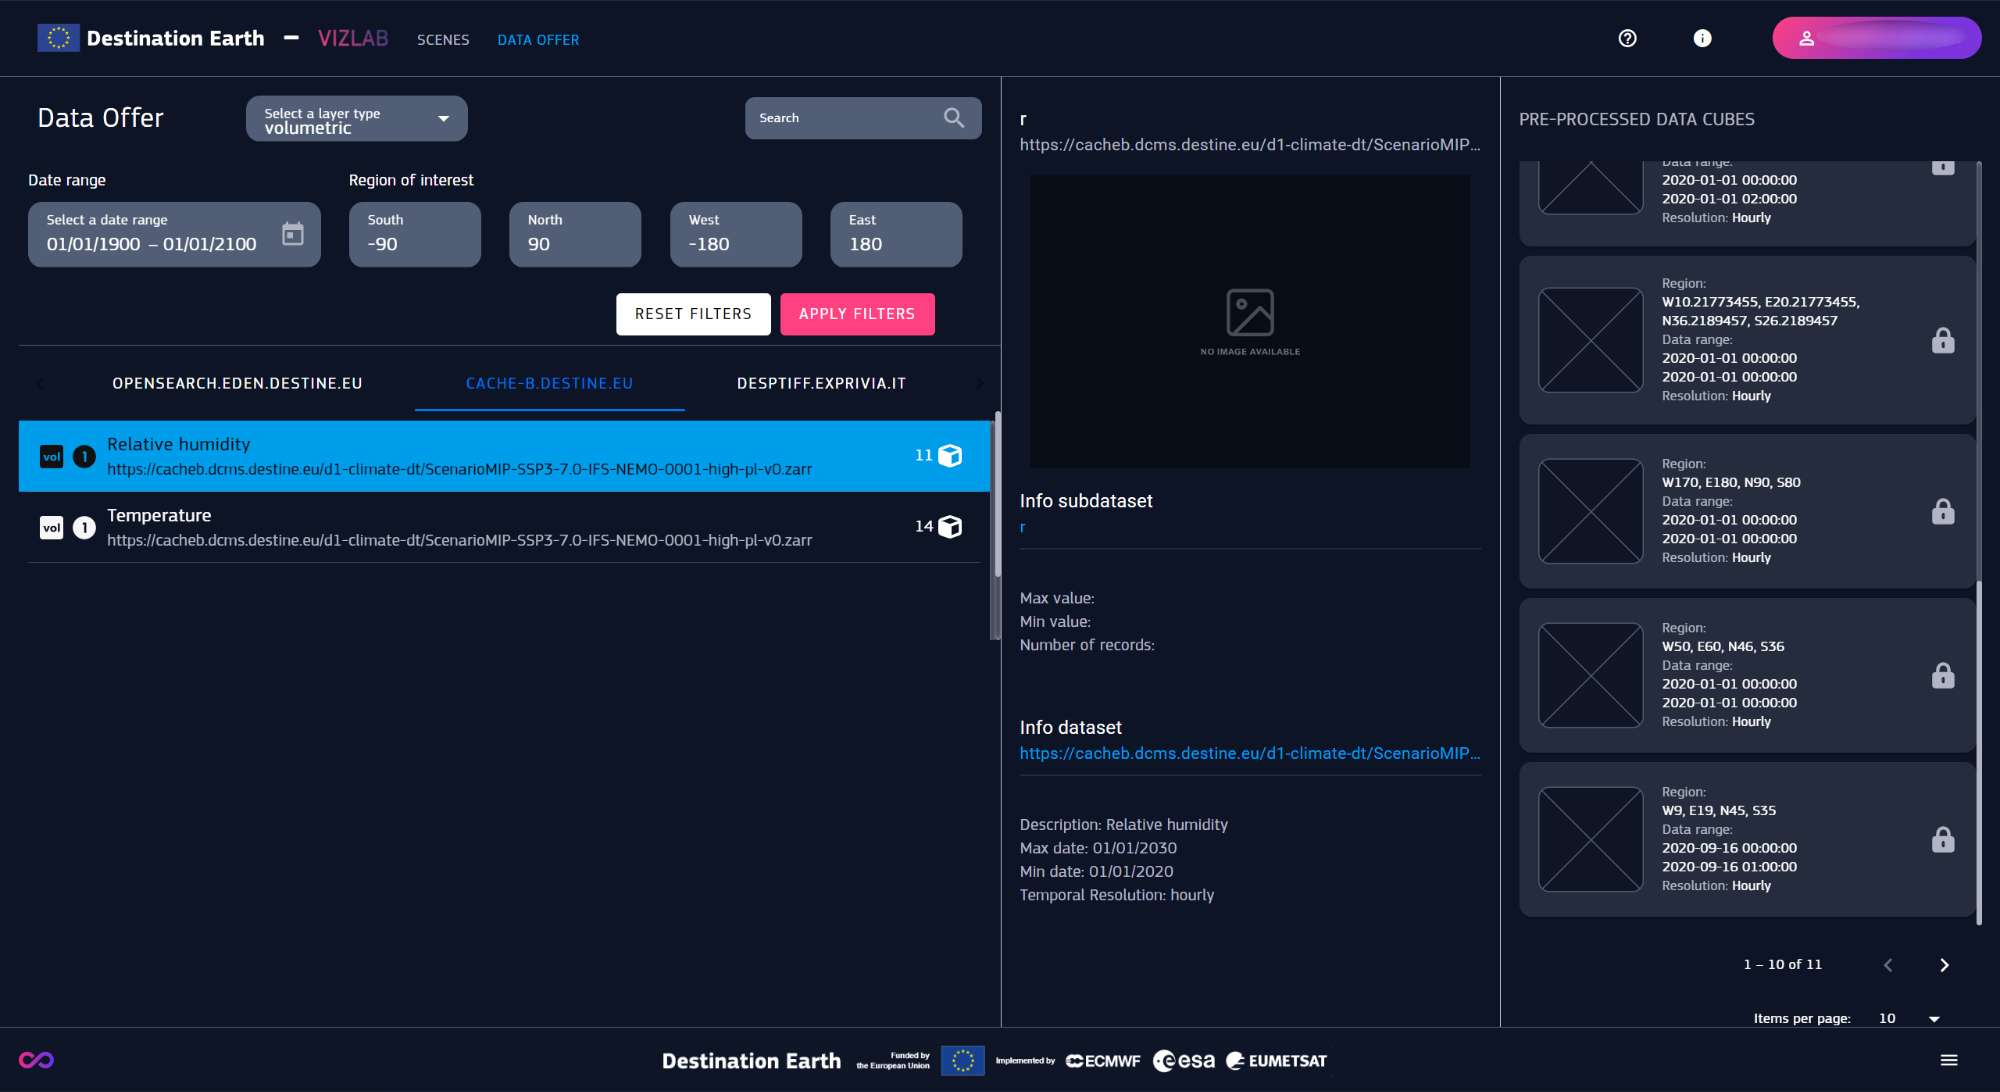
Fig. 5.1 Data cube selection panel
From the data cube selection, Request A New Data Extraction opens up another panel to set name, start and end date, pixel resolution and the region, visible in preview.
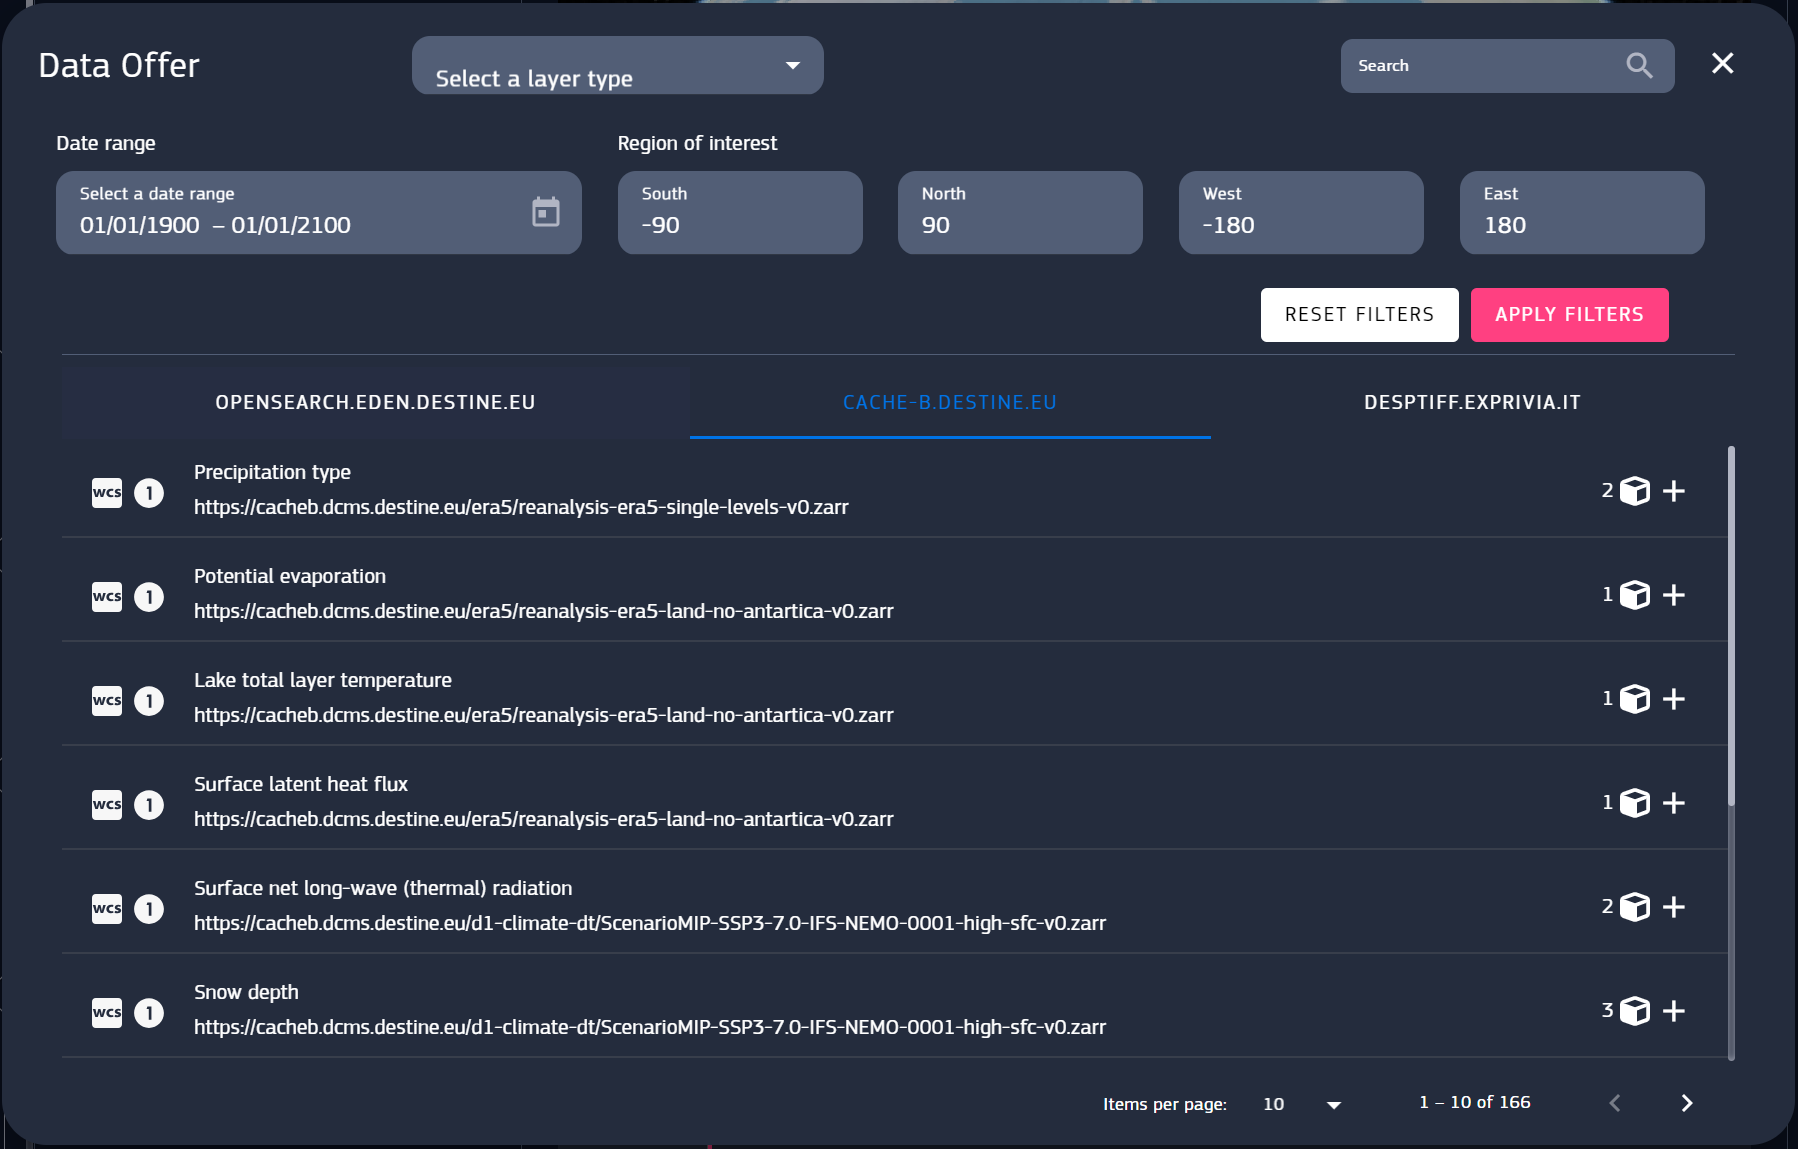
Fig. 5.2 Data cube creation panel
Region is editable with the Draw Region tool, already accessible from the Region filter in Data Offer. Once the data cube parameters are set up, the creation of the layer can be finalized with Add Layer. Before proceeding, user it’s warned about the amount of space bound to be taken by the datacube.
Please note that unregistered users cannot create data cubes but only view the existing ones.
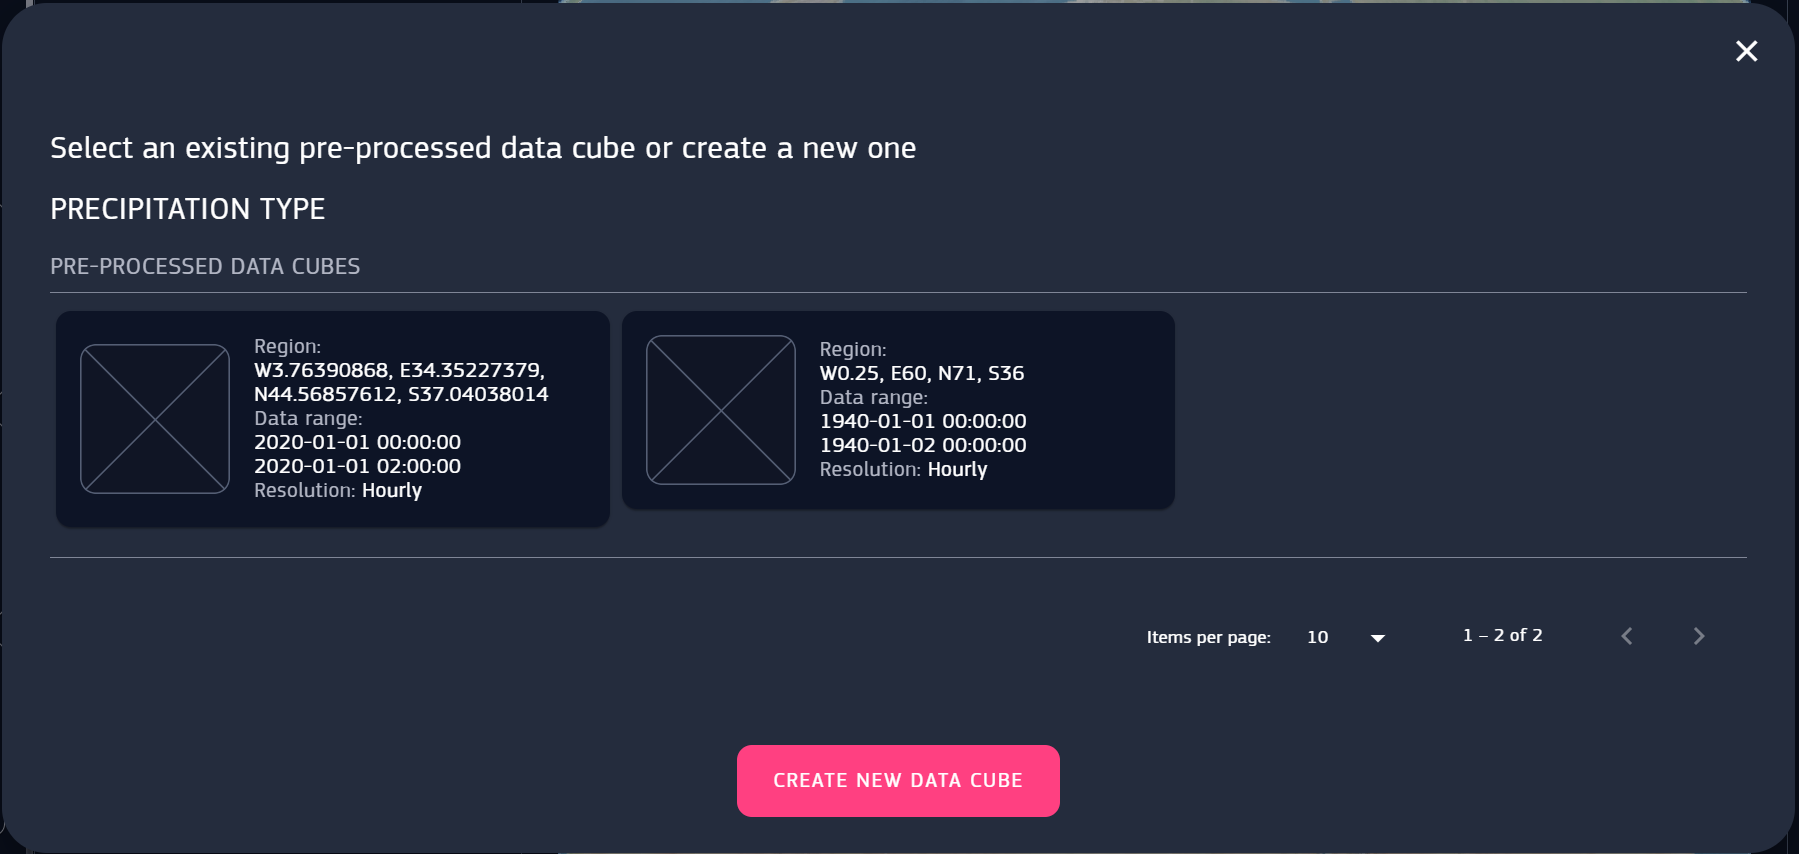
Fig. 5.3 Data cube creation confirmation
Upon adding the layer, the actual data cube loading starts. Until it’s not fully loaded, the layer does not appear in the 3D viewer, but the loading progress is shown in the layer card.
Keep in mind that the processing may take up to several hours depending on parameters.